Get your fix of everything retro — specialists in imported & rare retroImported & Rare Retro

Shop By
PCSX2: The Ultimate Beginner’s Guide to Playing PS2 Games on PC
Do you ever gaze at your cherished collection of PlayStation 2 games, a wave of nostalgia washing over you, only to be stopped by the thought of...

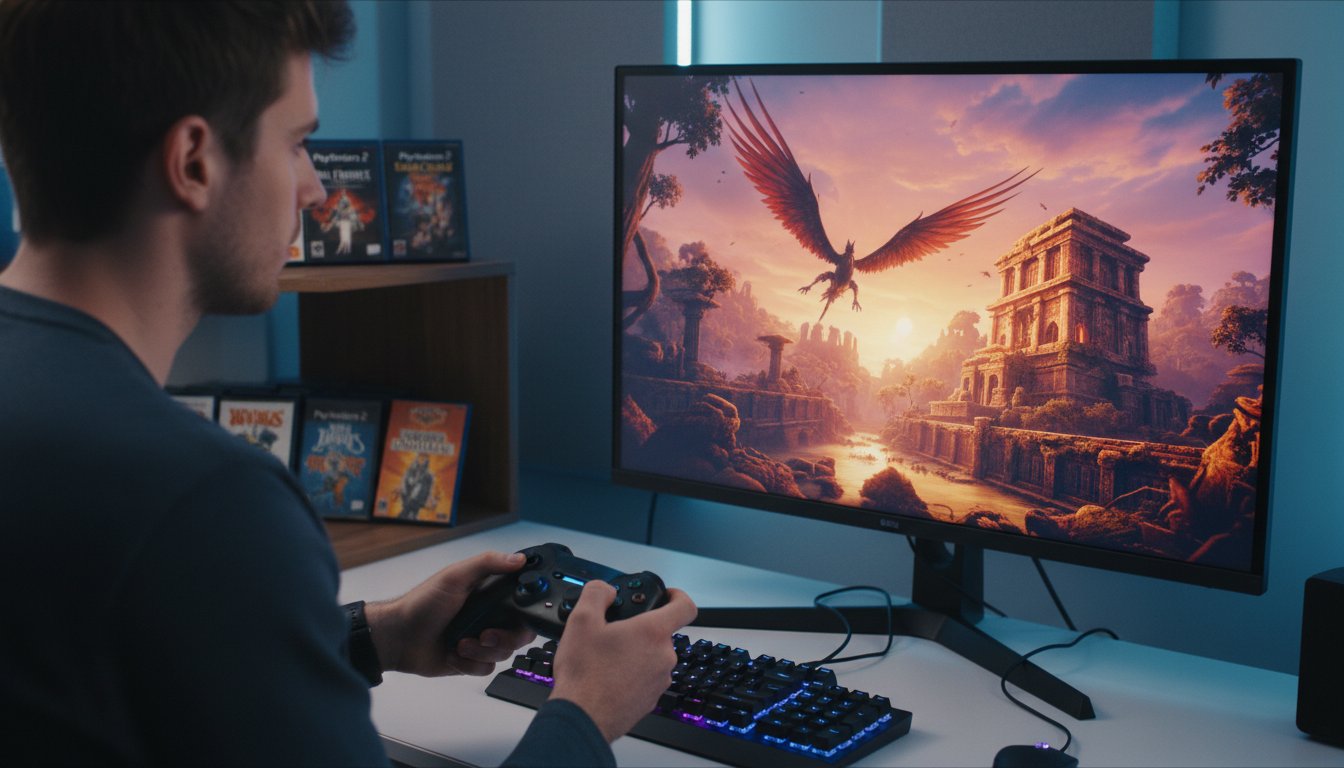
Do you ever gaze at your cherished collection of PlayStation 2 games, a wave of nostalgia washing over you, only to be stopped by the thought of complicated emulation? The technical jargon, the mystery of acquiring a BIOS file legally, and the fear of laggy gameplay can feel like a massive barrier. But what if you could relive those iconic classics on your PC, looking better than ever? That’s where the incredible power of the pcsx2 emulator comes in, and getting it running is much easier than you think.
It’s time to get your retro fix! This ultimate beginner’s guide is here to demystify the entire process. We’ll walk you through everything, step by simple step, from installation to configuration. You’ll learn how to legally use your own PS2’s BIOS, optimise settings to eliminate graphical glitches, and turn your physical collection into a stunning digital library. Get ready to connect your modern controller and experience your favourite PS2 games in glorious high-definition, just the way you remember them, only better.
What is PCSX2 and Why Use It to Play PS2 Games?
The PlayStation 2 is an iconic console with a library of cherished classics that defined a generation. But what if you could revisit those memories without digging out old hardware and untangling cables? That’s where emulation comes in-the magic of running software from one device, like a console, on a completely different one, like your PC. For the PS2, the undisputed gold standard is PCSX2, an incredible open-source project built and refined by a passionate community for over two decades. If you’re asking “What is PCSX2?“, think of it as a powerful, virtual PlayStation 2 for your computer, unlocking possibilities far beyond what the original console could ever achieve.
Breathing New Life into Classics: The Benefits
Using an emulator like pcsx2 isn’t just about convenience; it’s about giving your favourite games a stunning modern makeover. It allows you to experience these masterpieces in ways you never could on original hardware. The key advantages are game-changers:
- Stunning Visual Enhancements: Forget the blurry standard definition of old CRT televisions. You can upscale your games to run in crisp full HD (1080p), 1440p, or even glorious 4K, making titles like Final Fantasy X and Shadow of the Colossus look better than ever.
- Modern Gaming Features: Gain quality-of-life improvements with features like save states, which let you save your progress at any exact moment. You can also apply screen filters, texture packs, and widescreen patches to truly customise your experience.
- Total Controller Freedom: Dust off your favourite modern controller. Whether you prefer an Xbox controller, a modern PlayStation DualSense, or a classic PC gamepad, you can easily configure it to work perfectly.
- Ultimate Convenience: Imagine having your entire game library accessible with just a few clicks. No more searching for memory cards or swapping discs-just pure, uninterrupted gaming nostalgia.
Is PCSX2 Legal to Use?
This is a common and important question. The short answer is yes, the PCSX2 software itself is completely legal to download and use. It’s an open-source program created by enthusiasts. However, to use it, you need two other components that are protected by copyright: the PS2 BIOS and the games themselves. The legal way to obtain these is by using tools to dump the BIOS file from your own physical PlayStation 2 console and creating backup ISO files from game discs that you physically own. Distributing or downloading these files from the internet is illegal, so always stick to using your own hardware and software.
Getting Started: A Step-by-Step PCSX2 Installation Guide
Ready to dive in and get your fix of classic PlayStation 2 action? Fantastic! Before we begin, it’s wise to quickly check the official PCSX2 system requirements to ensure your PC is up to the task. While the emulator is incredibly optimised, a modern multi-core processor and a DirectX11-capable graphics card will give you the best experience. With that checked, let’s get this iconic emulator installed and ready for your cherished game library.
Downloading and Installing the Emulator
First things first, head directly to the official PCSX2 download page. You’ll see two main options: Stable and Nightly builds. For beginners and those who want a reliable, “it-just-works” experience, we wholeheartedly recommend the latest Stable release. Nightly builds get the newest features first but can sometimes have bugs. Download the installer for your operating system (we’ll focus on Windows here), run it, and follow the simple on-screen prompts for a standard installation.
The All-Important BIOS File
Here’s the most crucial, non-negotiable step. The BIOS (Basic Input/Output System) is essentially the PS2’s operating system; without it, pcsx2 cannot function. For legal reasons, you must own a PlayStation 2 console and dump the BIOS files from it yourself. Downloading BIOS files from the internet is illegal, and we strongly advise against it. Once you have your legitimate BIOS file, create a dedicated “BIOS” folder within your main PCSX2 installation directory and place the files inside. Keeping things organised now will save you headaches later!
First-Time Configuration Wizard
When you launch the emulator for the first time, a handy configuration wizard will pop up. This makes the initial setup a breeze. You’ll be asked to select your preferred language and theme. The next, most important step is pointing the emulator to your BIOS. Simply click “Browse” and select the “BIOS” folder you created earlier. The wizard will then ask you to set up your game directories. We recommend creating a separate “PS2 Games” folder on your hard drive and pointing the emulator to it. This keeps your collection neat and tidy, making it easy to browse your games from the main interface. For a more detailed visual guide, many retro gaming experts have fantastic tutorials explaining how to set up PCSX2 from start to finish. Once that’s done, you’re ready to configure your controls and start playing!
Configuring Graphics and Controllers for the Best Experience
This is where the real magic happens. The initial setup gets your games running, but the configuration stage is where you breathe new life into your cherished classics, making them look and feel better than they ever did on original hardware. We’ll guide you through the essential settings in pcsx2 without getting lost in the weeds. Remember, there’s a trade-off: higher visual quality demands more from your PC, so feel free to experiment to find the perfect balance for your system.
Unlocking HD Visuals: Key Graphics Settings
Your PS2 ran games at a fuzzy 480i resolution; your modern PC can do so much better. Head to Settings > Graphics to transform those jagged edges into crisp, clean lines. Focus on these key options:
- Renderer: This determines how your graphics card draws the image. Vulkan is the modern choice, offering the best performance on most systems. DirectX 11/12 is a solid Windows-based alternative, while OpenGL is great for compatibility.
- Internal Resolution: This is the secret sauce. Bumping this up from ‘Native’ to 3x (1080p) or 4x (1440p) will make your games look stunningly sharp.
- Anisotropic Filtering: This clever setting cleans up textures, especially on surfaces viewed at an angle, like roads and floors. Setting this to 16x adds detail with very little performance cost.
Recommended Settings for Mid-Range PCs:
- Renderer: Vulkan
- Internal Resolution: 3x Native (1080p)
- Anisotropic Filtering: 16x
Setting Up Your Modern Controller
Ditching the old DualShock 2 for a modern gamepad is one of the best parts of emulation. Setting it up is a breeze, especially after the recent PCSX2 user-friendly update that overhauled the interface. Navigate to Settings > Controllers. From here, select your connected device (like an Xbox or DualSense controller) and simply click ‘Automatic Mapping’. The emulator will intelligently assign all the standard buttons for you. If you need a custom layout, the ‘Manual Mapping’ option is right there waiting.
Don’t Forget Sound: Audio Settings
Good news – the default audio settings are excellent for almost everyone. You can find them under Settings > Audio. The only options you might need to touch are changing the ‘Output Device’ if you use multiple speakers or a headset. We also recommend enabling ‘Time-Stretching’, which helps keep the audio smooth and prevents crackling if your game’s performance ever dips.
How to Load and Play Your PlayStation 2 Games
You’ve done the hard work, and now it’s time for the ultimate reward: firing up those cherished classics! With your configuration complete, launching a game in pcsx2 is incredibly straightforward. You have two main methods to choose from, but one is clearly superior for performance and convenience.
Using Physical Discs vs. ISO Files
While you can absolutely play games directly from a physical disc in your PC’s DVD drive, we strongly recommend creating digital backups, known as ISO files. Running a game from an ISO stored on your hard drive is significantly faster, quieter, and completely eliminates loading delays caused by a spinning disc. It also preserves your precious original copies from wear and tear.
In the UK, you are permitted to create a backup of media you own for personal use. You can do this easily with free software like ImgBurn to create a perfect digital copy of your game disc. Think of it as building a digital shelf of all your favourites, ready to play in an instant.
Missing a few gems for your collection? Get your fix of classic PS2 titles here!
Loading Your First Game
Once you have your ISO files saved in a dedicated folder, you just need to tell PCSX2 where to find them. This is a one-time setup that makes launching games a breeze.
- In the main PCSX2 window, go to Settings > Game List.
- Click the Add button and navigate to the folder containing your game ISOs.
- PCSX2 will scan the directory and populate your game list, often pulling in the correct box art automatically.
From now on, all you have to do is open PCSX2 and double-click the game you want to play from the list. It’s that easy!
Mastering Emulator Features: Save States & More
Here’s where emulation truly enhances the retro experience. A “save state” is a perfect snapshot of your game at any given moment. No more hunting for in-game save points! You can save your progress right before a tough boss or during a tricky platforming section.
Get used to these essential hotkeys:
- F1: Save your progress to the current slot.
- F3: Load your progress from the current slot.
- F2: Cycle between different save slots for the same game.
Beyond that, you can press the Tab key to fast-forward through slow sections or lengthy cutscenes. These powerful features give you complete control over your gaming sessions, letting you enjoy the classics your way.
Your PlayStation 2 Adventure Awaits
You’re now equipped with everything you need to dive back into one of gaming’s most iconic eras! This guide has shown that setting up the pcsx2 emulator is a straightforward process, from initial installation to fine-tuning your graphics and controller for that perfect, authentic feel. The power to replay cherished classics and discover hidden gems in stunning high-definition is now right at your fingertips. The PlayStation 2’s legendary library is yours to explore.
But what’s an emulator without the games? As passionate experts and fellow retro gaming enthusiasts, we’re here to help you get your fix. We are specialists in rare and imported retro games and even offer professional console repair and modification services for those who cherish the original hardware experience. We live and breathe this stuff, and we want you to have the best experience possible.
Ready to play? Browse our huge collection of classic PS2 games!
Welcome back to the golden age of gaming. Happy playing!
Frequently Asked Questions
Is PCSX2 legal and safe to use?
Absolutely! The PCSX2 software itself is completely legal, open-source, and safe to use, provided you download it from the official website. It’s a passion project built by dedicated fans for the community. The legal side gets tricky with the BIOS file and the games themselves, as these are copyrighted by Sony. To stay on the right side of UK copyright law, you should only use a BIOS file dumped from your own PlayStation 2 console and play games you’ve legally purchased.
Where can I get a PlayStation 2 BIOS file from?
This is a crucial step to get your retro fix! The only completely legal way to obtain a PS2 BIOS file is to extract-or “dump”-it from your very own PlayStation 2 console. This process requires some specific software and a way to run homebrew applications on your PS2. While you might see BIOS files available for download online, distributing and downloading them is a breach of copyright. We always recommend using your own hardware to stay above board.
Can my computer run PCSX2 smoothly?
Getting that classic PS2 experience on PC is less demanding than you might think, but it relies more on your processor (CPU) than your graphics card (GPU). For a smooth 1080p experience, you’ll want a CPU with a strong Single Thread Rating-most modern quad-core processors from the last five years will do the trick. A dedicated graphics card that supports DirectX 11 or OpenGL 4.5, like an NVIDIA GTX 1650 or an AMD RX 570, is more than enough for most iconic titles.
Why are my games running slow or have graphical issues?
Don’t worry, a bit of tinkering usually sorts this out! Slowdowns are often caused by emulation settings being too demanding for your PC. Try switching your video renderer in the graphics settings between OpenGL and DirectX to see which performs better. Graphical glitches, like weird textures or lines, can sometimes be fixed by enabling “Hardware Hacks” or checking the official pcsx2 wiki. Each game is different, and the wiki is an amazing resource for finding the perfect settings for specific classics.
What’s the difference between an ISO and a physical game disc?
Think of an ISO file as a perfect digital snapshot of your physical game disc. It’s a single file on your computer that contains all the data from the original DVD, captured bit for bit. For emulation, using an ISO is massively better than running a disc in your PC’s drive. It allows for much faster loading times since your hard drive is quicker than a DVD reader, and it keeps your cherished physical game collection safe from scratches and wear. It’s the best way to preserve your classics!
Can I use my original PS2 memory cards with PCSX2?
What a fantastic hit of nostalgia! While you can’t plug your original PS2 memory card directly into your PC, you absolutely can bring those precious save files over. PCSX2 uses “virtual” memory cards, which are just files on your computer. To transfer your old saves, you’ll need a special adapter, like a PS3 memory card adapter, and some homebrew software on your PS2. It’s a brilliant way to pick up that 100-hour RPG right where you left off all those years ago.