Get your fix of everything retro — specialists in imported & rare retroImported & Rare Retro

Shop By
How to Fix a Broken Game Boy Screen: The Ultimate Repair & Modding Guide
There’s nothing quite like that sinking feeling: you power on your cherished Game Boy, ready for a dose of nostalgia, only to be greeted by a screen...

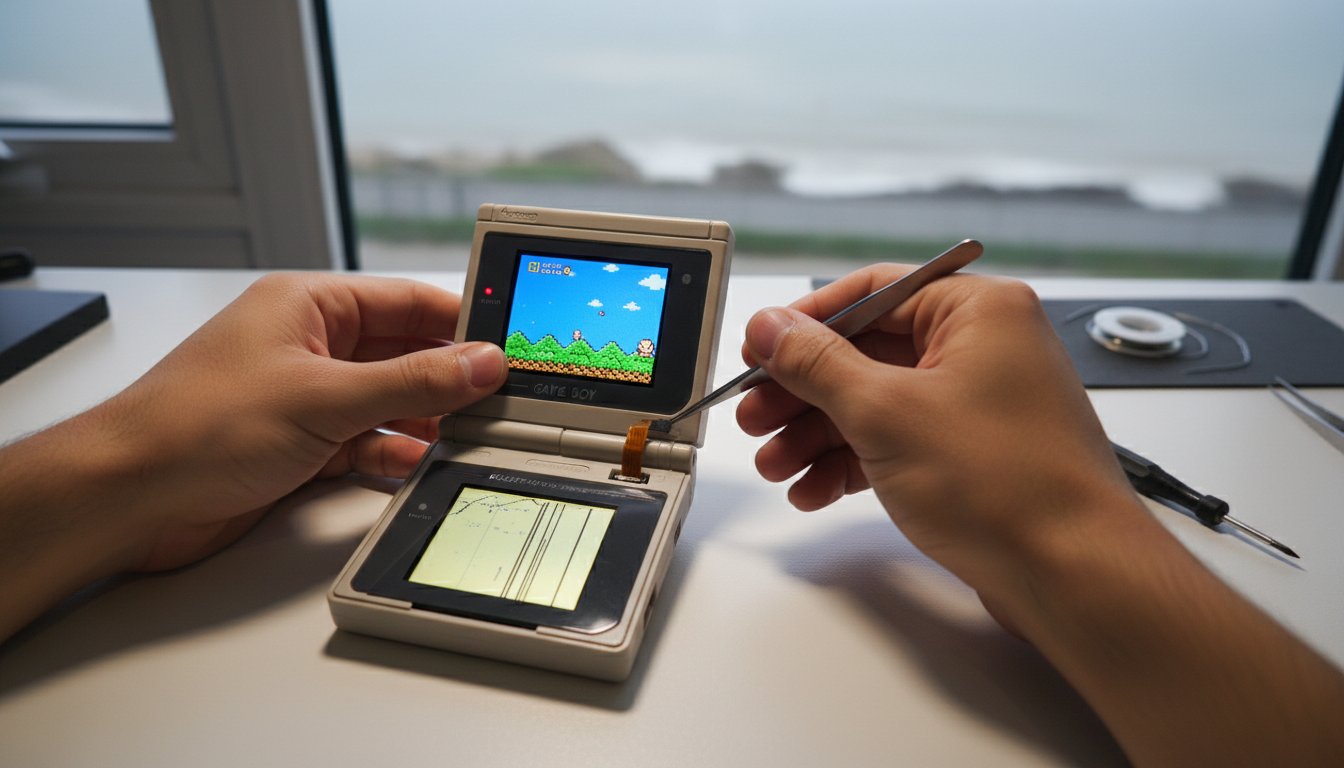
There’s nothing quite like that sinking feeling: you power on your cherished Game Boy, ready for a dose of nostalgia, only to be greeted by a screen full of vertical lines, dead pixels, or a sad, blank void. The thought of trying to fix a broken Game Boy screen can be daunting. You worry about melting that iconic plastic shell with a soldering iron, get confused between a DMG and a Pocket, and struggle to find quality replacement parts here in the UK.
Don’t shelve that piece of gaming history just yet! For the love of everything retro, we’ve created the ultimate guide to get your handheld back in the game. We’ll help you confidently identify your screen’s fault, whether it’s a simple ribbon cable issue or catastrophic damage. You’ll discover a clear, step-by-step path to decide whether to DIY repair, replace, or upgrade your console with a stunning, modern IPS display that will make those classic pixels pop like never before.
Key Takeaways
- First, diagnose your screen fault. Whether you have vertical lines, dead pixels, or ‘screen rot’, proper identification is the critical first step to successfully fix a broken Gameboy screen.
- Discover the specific tools and techniques needed to fix a broken Gameboy screen, from using a soldering iron on vertical lines to carefully replacing a burnt polarizer.
- Transform your retro experience by upgrading to a modern, backlit IPS display-a popular solution to fix a broken Gameboy screen and enhance gameplay. We’ll help you compare the top modding kits available in the UK.
- Understand the risks of DIY repair and learn when it’s smarter to trust a UK-based professional service for complex mods or delicate soldering jobs.
Diagnosing Your Broken Game Boy Screen: What Went Wrong?
So, you’ve dug out your cherished Game Boy, ready for a nostalgia trip, only to be met with a garbled, lined, or lifeless display. Don’t despair! Before you can fix a broken Game Boy screen, you need to play detective. Understanding the specific ailment is the first, most crucial step in bringing that iconic monochrome display back to life.
First, the simple stuff. Is it just the contrast wheel? Give it a good spin. A seemingly dead screen is sometimes just turned all the way down. If that doesn’t work, it’s time to identify the four horsemen of Game Boy screen failure: vertical lines, horizontal lines, screen rot, and the dreaded Vinegar Syndrome.
Vertical vs. Horizontal Lines: Which can be fixed?
Not all lines are created equal. Vertical lines are the common cold of screen problems-annoying, but usually curable. They’re caused by a failing connection where the screen’s ribbon cable meets the PCB. A careful touch with a soldering iron can often reflow the solder and bring those pixels back. Horizontal lines, however, are the grim reality. These are caused by broken connections directly on the glass LCD, a notoriously difficult-often impossible-repair for the home enthusiast.
The Smell Test: Identifying Vinegar Syndrome
Ever open up an old console and get a whiff of salad dressing? That’s “Vinegar Syndrome,” the slow chemical death of the screen’s polarizing film. After 30+ years, the components inside the iconic original Game Boy (DMG-01) are bound to show their age. UV light and humidity accelerate this breakdown, causing the polarizer to bubble, darken, or develop a “burnt paper” look. The good news? The LCD underneath is often perfectly fine!
Finally, it’s vital to distinguish between this polarizer damage and true “screen rot.” If you see a dark, spreading “bleed” that looks like black ink inside the glass, that’s screen rot. This is a leak of the liquid crystal itself and is, sadly, terminal for the original LCD. Knowing the difference is key to planning your Game Boy screen fix.
How to Fix Vertical Lines on a Game Boy (DMG-01) Screen
The dreaded vertical lines on an original Game Boy screen are an iconic, and thankfully, fixable problem. This issue almost always stems from a failing connection between the screen’s ribbon cable and the main PCB. Don’t worry, you don’t need to replace the whole display! With a bit of patience and the right tools, we can get that cherished handheld looking pixel-perfect again. This is a classic procedure for anyone wanting to learn how to fix a broken Game Boy screen.
Your Toolkit for the Job:
- Tri-wing Y1 Screwdriver
- 30W Soldering Iron (a basic one from a UK electronics shop for around £15 will do)
- Cotton buds and 99% Isopropyl Alcohol (IPA)
Safety First! Before you even touch a screwdriver, always remove the batteries. This prevents any accidental short circuits. Once inside, be mindful of the capacitors on the power board; while the risk is low on a DMG, it’s good practice to avoid touching their contacts.
Step-by-Step Soldering Iron Reflow
This “reflow” technique uses heat to re-establish the delicate connections. First, remove the six tri-wing screws from the rear of the Game Boy shell and carefully separate the two halves. Be gentle, as they are connected by a fragile ribbon cable. Unclip this cable to work on the front PCB freely. Now, run the tip of your hot soldering iron slowly and consistently across the black rubber strip located just below the LCD glass. This is where the magic happens.
CRITICAL WARNING: Never hold the iron in one spot for more than a second or two. You want to heat the adhesive, not melt the plastic ribbon! Keep it moving.
Cleaning the Contrast Potentiometer
If your screen also flickers or the contrast is jumpy, the culprit is likely a dirty contrast wheel. A quick clean can work wonders. Dip a cotton bud in a tiny amount of 99% IPA, dab off any excess, and gently work it into the opening of the contrast wheel on the side of the PCB. A few careful twists will clean the internal contacts without flooding the board with liquid.
After applying the reflow technique, it’s smart to test your work. Partially reconnect the ribbon cable, pop in the batteries and a game cartridge, and power it on. You should see the lines disappearing. You may need a few passes with the iron to get them all. Once you’re happy, you can reassemble your classic Game Boy and get back to the good old days!
Replacing the Game Boy Screen Polarizer
Sometimes, what looks like a dead screen is actually just a burnt or “rotting” polarizer. If your Game Boy’s screen has dark, ink-like splotches but no physical cracks, you’re in luck! This is a common issue caused by the original polarizing film degrading over time. Instead of a costly full screen replacement, a simple polarizer swap can bring that classic dot-matrix display back to life for just a few quid. It’s an incredibly satisfying repair and a fantastic, budget-friendly way to fix broken gameboy screen issues for purists who want to keep that authentic look.
Before you start, you’ll need the right material. Classic Game Boys (DMG, Pocket, and Color) use a linear polarizing film. Don’t accidentally buy a circular one used for modern phones; it won’t work. You can find adhesive-backed sheets online for under £10, making this a truly accessible fix. For more complex issues or if you’d rather leave it to the pros, check out our expert Console Repairs: Bring Your Retro Hardware Back to Life services.
Removing the Burnt Film
Gently slide a plastic razor blade under a corner of the old film to lift it without scratching the delicate glass. Peel it away slowly. You’ll be left with a stubborn, sticky mess. While some recommend Goo Gone, we find high-purity Isopropyl Alcohol (IPA) and a microfibre cloth are best to dissolve the adhesive without leaving an oily residue. Correctly aligning the new film is non-negotiable, as the wrong angle will render the screen completely black or invisible.
Applying the New Film
Here’s the magic trick: before peeling the backing, place the new film over the powered-on LCD and rotate it. You’ll see the image appear and disappear. Find the “sweet spot” with the best contrast and mark the orientation. For a dust-free finish, try the “bathroom steam” trick-run a hot shower for a minute to let steam pull dust from the air before application. This simple fix is easily the most cost-effective way to save a classic screen from the dreaded “screen rot.”
The Ultimate Fix: Upgrading to a Backlit IPS Screen Mod
So, your original screen is busted. While a like-for-like replacement gets you back in the game, why not turn this problem into a massive upgrade? In 2026, the gold standard solution to fix a broken Game Boy screen is to install a modern, backlit IPS display. This single mod is a total game-changer, breathing new life into your cherished handheld with a screen quality that blows the original out of the water.
The benefits are immediate and stunning: you get vibrant, saturated colours, zero motion blur or ghosting, and multiple brightness levels that finally let you play Pokémon Red under the duvet without a clunky worm light. Leading the charge are brands like FunnyPlaying and Hispeedido, both offering incredible kits that make this upgrade more accessible than ever. For a deep dive on the market leader, check out our What is FunnyPlaying? A GBA Modding Guide.
Why IPS Mods Beat Original LCDs
The leap in quality from the original non-lit LCD to a modern IPS panel is staggering. Here’s what you gain:
- Resolution and Clarity: IPS screens offer a much higher pixel density, resulting in razor-sharp graphics. Many kits include “pixel effect” modes to perfectly replicate the look of the original dot-matrix display, just with perfect clarity.
- The Brightness Factor: With typically 8-10 levels of adjustable brightness, you can get the perfect picture whether you’re playing in direct sunlight or in a dark room.
- Power Consumption: While a backlit screen does use more power than the original, modern kits are surprisingly efficient. Expect slightly reduced battery life from your AAs, but the visual payoff is more than worth it.
Modding for Beginners: No-Solder Kits
Worried you need to be an electronics wizard? Think again. The modding scene has exploded with “drop-in” kits that require zero soldering. These kits, available from UK suppliers for around £40-£60, make this the perfect weekend project. You’ll face one main choice: trim your original shell to fit the new, larger screen, or buy a pre-cut replacement shell for a perfect fit right out of the box.
Pro-Tip: The #1 mistake beginners make is pinching or creasing the delicate ribbon cable during reassembly. This thin cable connects the screen to the motherboard. Take your time, ensure it’s seated correctly, and never force the shell closed. A little patience here is the key to a successful mod and the ultimate way to fix your Game Boy screen for good.
Professional Game Boy Repair & Modding Services in the UK
Sometimes, a DIY project hits a wall. You might face a stripped screw, a stubborn ribbon cable, or a soldering job that’s just a bit beyond your current setup. Admitting defeat isn’t failure-it’s protecting your cherished console from permanent damage. If you’re worried about lifting a delicate solder pad or cracking a vintage shell, it’s time to call in the experts.
At RetroFix, we live and breathe classic hardware. When you need to fix a broken Game Boy screen, you get more than just a replacement part. You get the RetroFix advantage:
- Professional Soldering: Our technicians have the steady hands and pro-grade equipment to handle even the most delicate motherboard work.
- Ultrasonic Cleaning: We can restore tired, dusty internals to their former glory, ensuring longevity and reliable performance.
- Warranty Included: Every repair we perform is backed by our warranty, giving you complete peace of mind.
Our secure mail-in service makes it easy. Simply pack up your console, send it to our Worthing workshop, and we’ll take care of the rest. We treat every Game Boy as if it were our own, from the moment it arrives to the moment it’s safely back in your hands. And if you’re looking for more than a simple repair, why not design your dream Game Boy? We specialise in custom builds, from unique shells to backlit screens and audio mods, creating a console that is truly yours.
Our Full “Freshen Up” Service
While we have your Game Boy on the bench, we highly recommend our “Freshen Up” service. This goes beyond the screen to address the core health of your console. A full capacitor re-cap replaces aging components to prevent future leaks and power issues, while a deep power clean ensures stable performance for years to come. We also provide professional grading and condition reporting, perfect for serious collectors. As specialists in imported and rare retro hardware, we have extensive experience with NTSC-J models and other Japanese exclusives.
Get Your Fix Today
We believe in transparent pricing, whether you need a simple screen repair or a stunning new IPS display upgrade. As a UK-based workshop, we offer fast, reliable turnaround times for local collectors, getting your beloved handheld back to you quickly. Ready to bring your Game Boy back to life or create the ultimate custom classic? Let’s get it sorted.
Book your professional Game Boy repair at RetroFix
Your Game Boy’s Next Chapter Awaits
From tackling those pesky vertical lines to replacing a worn-out polarizer, we’ve explored several powerful ways you can fix broken gameboy screen issues right at home. For those ready for the ultimate upgrade, installing a vibrant, modern IPS display can make your classic console feel brand new. A damaged screen is rarely the end of the road for your cherished handheld; it’s an opportunity for a revival.
But we get it-not everyone has the time or a steady hand for delicate repairs. If you’d rather leave the revival to the pros, we’re here to help. At RetroFix, we are specialists in imported and rare retro hardware. Our professional IPS modding and full re-cap services will give your Game Boy a new lease of life. Based in Worthing, we proudly serve the entire UK via our secure mail-in service, ensuring your console is in safe, passionate hands.
Ready to get that iconic screen shining brighter than ever? Get your fix of everything retro-book your repair now! Don’t let a faulty display keep you from your favourite classics. Happy gaming!
Frequently Asked Questions
Is it worth fixing an original Game Boy screen or should I buy a new one?
Absolutely! For many retro fans, fixing an original Game Boy is a rewarding project that preserves a piece of gaming history. Plus, modern replacement screens, like IPS displays, offer far superior brightness and clarity than the original ever did. It’s less about cost and more about breathing new life and enhanced playability into a cherished classic. It’s a fantastic way to get your fix of nostalgia with a modern twist.
Can I fix a cracked Game Boy screen without replacing the whole LCD?
Unfortunately, you can’t fix a physically cracked LCD panel. The crack means the liquid crystal display itself is permanently damaged and must be replaced. However, sometimes it’s only the top plastic screen lens that’s cracked or scratched. This is a much easier and cheaper fix, as you can simply peel off the old lens and stick a new one on without ever opening the console’s shell. Always check which part is actually broken!
Why does my Game Boy screen have horizontal lines that wont go away?
Those pesky horizontal lines are a classic issue with the original DMG Game Boy! This is almost always caused by the connections on the screen’s ribbon cable detaching from the PCB over time. The most common fix involves carefully running the tip of a hot soldering iron over the ribbon cable’s connection point to re-melt the solder and re-establish the connection for each line. It’s a delicate but very common repair for enthusiasts.
What tools do I need to open a Game Boy console?
To get inside your classic Game Boy, you’ll need two specific tools. For the outer case screws, you need a Tri-wing (or Y-tip) screwdriver, typically a Y1 size. Once inside, you’ll need a small Phillips head screwdriver (like a PH1) to remove the screws holding the mainboard in place. Having both of these in your retro gaming toolkit is absolutely essential for any cleaning, modding, or repair jobs you plan to tackle.
How much does it cost to have a professional fix my Game Boy screen in the UK?
In the UK, the cost to have a professional fix a broken Game Boy screen can vary. For a like-for-like replacement, you can expect to pay between £40 and £60, including parts and labour. If you’re upgrading to a modern backlit IPS screen, the price is usually higher, typically ranging from £70 to £100, depending on the kit used and the technician’s rates. Always get a quote first!
Will installing a backlit screen mod lower the value of my Game Boy?
This is a great question for collectors! For a purist, any non-original part can technically lower the value of a mint-condition, boxed console. However, for the vast majority of players and enthusiasts, a high-quality, professionally installed backlit screen mod dramatically increases the Game Boy’s value. The improved playability makes it a much more desirable item, and these modded consoles often sell for a premium over their standard counterparts.
Can I use a Game Boy Color screen in an original DMG Game Boy?
No, you cannot use a Game Boy Color screen in an original DMG-01 Game Boy. While they are from the same family of handhelds, the LCD panels are completely different technologies with unique sizes, resolutions, and ribbon cable connectors (pinouts). They are not cross-compatible in any way. You must use a screen specifically designed for the DMG, whether it’s an original replacement or a modern IPS kit.
What is the “Vinegar Syndrome” and is it toxic?
“Vinegar Syndrome” is a term for the chemical breakdown of the screen’s original polarising film. This degradation releases acetic acid, which causes that distinct vinegar smell. While the fumes aren’t considered highly toxic in such small quantities, it’s always wise to work in a well-ventilated area when removing the old film. The real problem is that it makes the screen unviewable, so replacing that polariser is the only way to save the display.