Get your fix of everything retro — specialists in imported & rare retroImported & Rare Retro

Shop By
How to Upgrade the Firmware of the PSxMemCard Gen2
PSxMemCard Gen2 firmware is something a lot of people forget about right after they unbox the device, plug it into their PlayStation, and start dumping saves onto a memory card.…

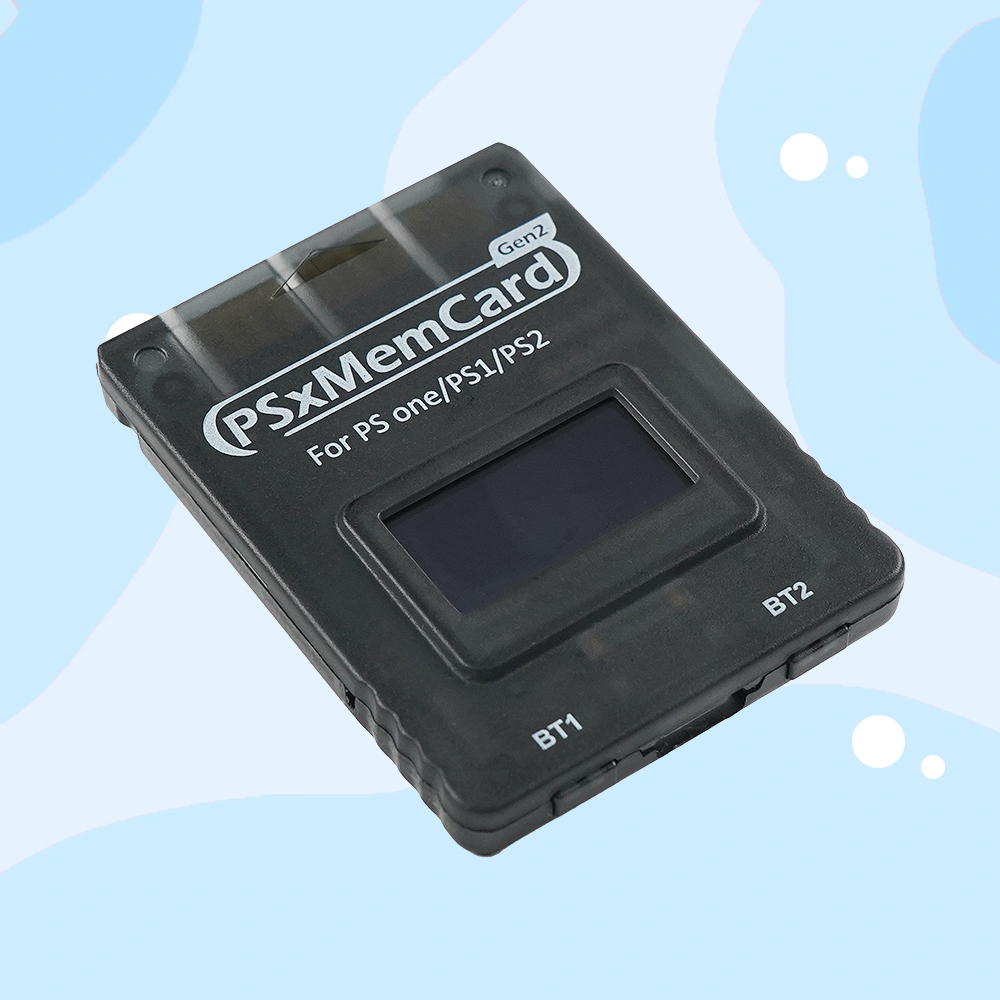
PSxMemCard Gen2 firmware is something a lot of people forget about right after they unbox the device, plug it into their PlayStation, and start dumping saves onto a memory card. And honestly, that’s fair enough. It works straight out of the box. But here’s the thing: the team behind it keeps releasing updates, and those updates aren’t just bug fixes for the sake of it. They add proper improvements, better game compatibility, and new features that make the whole thing nicer to live with. If you’ve had your card sitting in a drawer for a few months, there’s a good chance you’re already a version or two behind.
The good news is that updating it is genuinely easy. You don’t need any special software, you don’t need to solder anything, and you don’t need to be the kind of person who feels at home in a command line. If you can drag a file from one folder to another on your computer, you can do this. Below you’ll find a written walkthrough, and there’s a video at the bottom of the page if you’d rather watch someone do it first.
Why bother updating it at all?
It’s a reasonable question. If the card is working, why poke it?
The PSxMemCard Gen2 is based on open-source hardware (the sd2psx design), which means there’s an active community constantly tinkering with the firmware. Over time that’s brought things like better support for awkward games, smoother menu navigation on that little OLED screen, adjustable virtual memory card sizes, and improved stability when you’re switching between PS1 and PS2 modes. Some updates also add support for homebrew exploits and boot tools, which matters a lot if you’re into that side of things.
So even if your card seems fine today, a newer firmware often makes it more reliable with a wider range of titles. It’s a five-minute job that can save you a headache down the line.
What you’ll need before you start
Nothing exotic. Round up the following and you’re set:
- Your PSxMemCard Gen2
- A USB-C cable that can actually transfer data (this is the one that trips people up — plenty of cheap cables only carry power and won’t show the device on your PC)
- A computer running Windows, macOS, or Linux
- The latest firmware file, which comes as a
.uf2file
Grab the newest firmware from the official sd2psx GitHub releases page. Open the latest release, click to expand the list of files under “Assets,” and download the sd2psx.uf2 build. That single file is all you need. Click on the “Assets” text to expand the list, then click on “sd2psx.uf2” to download the latest firmware build.
One quick word of caution before you go further: updating can sometimes wipe your BOOT channel settings, so if you’ve got a custom setup configured, just be aware you might need to set those preferences again afterwards. Your actual game saves live on the microSD card and aren’t touched by the firmware flash, so those are safe.
Step-by-step: flashing the firmware
Here’s the part you came for. Take it slow the first time and it’ll feel obvious by the second.
1. Download the firmware. If you haven’t already, grab the sd2psx.uf2 file from the GitHub releases page and pop it somewhere easy to find, like your desktop.
2. Put the device into update mode. This is the only slightly fiddly bit, and it’s still not hard. Make sure the card is unplugged, then press and hold either of the two buttons on top of the device. While you’re still holding the button, plug the USB-C cable into your computer. Hold the Boot button while connecting your sd2psXtd Gen2 to your PC using a USB Type-C cable.
3. Look for the new drive. If it worked, a new removable drive will pop up in your file explorer, usually named something like RPI-RP2. If successful, a new removable drive named RPI-RP2 should appear in your file explorer. This is the device waiting for its new firmware. You can let go of the button now.
4. Drag and drop the firmware. Take the sd2psx.uf2 file you downloaded and drag it onto that removable drive, exactly like copying a file to a USB stick. Drag and drop the firmware (.uf2 file) into the removable drive.
5. Wait for it to finish. Don’t touch anything. After a few seconds the device will reboot on its own and the drive will vanish from your computer. Wait for the sd2psXtd Gen2 to disconnect automatically. Once it disconnects, the update is done and it’s safe to unplug. Within roughly ten seconds it should reboot and be safe to unplug.
That’s the entire PSxMemCard Gen2 firmware process. No installer, no drivers, no fuss.
What if the device doesn’t show up?
If you plug in and nothing appears on your computer, don’t panic — it’s almost always one of two things.
The most common culprit is the cable. A surprising number of USB-C cables are charge-only and simply can’t move data. Swap in a different cable that you know works for transferring files and try again.
If you’re confident the cable is fine, double-check that you’re holding the button before you plug in, and keep holding it for a second or two after the connection is made. Timing matters here. If it still won’t cooperate, unplug everything, wait a moment, and run through the hold-then-plug sequence one more time.
Keeping your saves safe
This isn’t strictly part of the update, but it’s worth a mention because people always ask. Your game saves aren’t stored in the firmware — they live on the microSD card inside the device. If you ever want a backup, just take the microSD card out, slot it into a card reader on your computer, and copy the memory card folder somewhere safe. Remove the microSD card, insert it into a computer using a card reader, and copy the contents of the Memory Card folder to complete the backup. Do that before any big firmware jump and you’ll never lose a save.
Final thoughts
Updating your PSxMemCard Gen2 firmware really is one of those jobs that sounds more technical than it is. Download a file, hold a button, drag and drop, done. A few minutes of effort gets you better compatibility, new features, and a more dependable little device — and there’s no good reason to keep running an old build when the latest one is right there for free.